Content
- 1 Understanding the Basics: Ingredients and Kitchen Essentials for Homemade Butter
- 2 Step-by-step guide: Churning your own butter from cream in your kitchen
- 3 Mastering butter washing and seasoning for optimal taste and preservation
- 4 Storing homemade butter and creative ways to enjoy its fresh, rich flavor
- 5 Butter nutritional benefits and what makes homemade butter a wholesome choice
- 5.1 How long does one quart of cream take to turn into butter?
- 5.2 Is it necessary to let the cream ripen at room temperature before churning?
- 5.3 Can homemade butter be made without a mixer or churn?
- 5.4 What can I do with the buttermilk left over after making butter?
- 5.5 How should I store homemade butter for the best shelf life?
Butter has long been a staple in kitchens around the world, cherished for its rich flavor and creamy texture. Yet, many assume homemade butter is a complex process reserved for artisan chefs or those with specialized equipment. The truth is, crafting butter from scratch is surprisingly simple, requiring only a few ingredients and some patience. This ancient dairy tradition not only brings a deeper connection to the food we eat but also allows for customization unmatched by store-bought options. Discovering how to transform fresh cream into luscious butter can open new doors to frugal living, homemade cooking, and self-sufficiency.
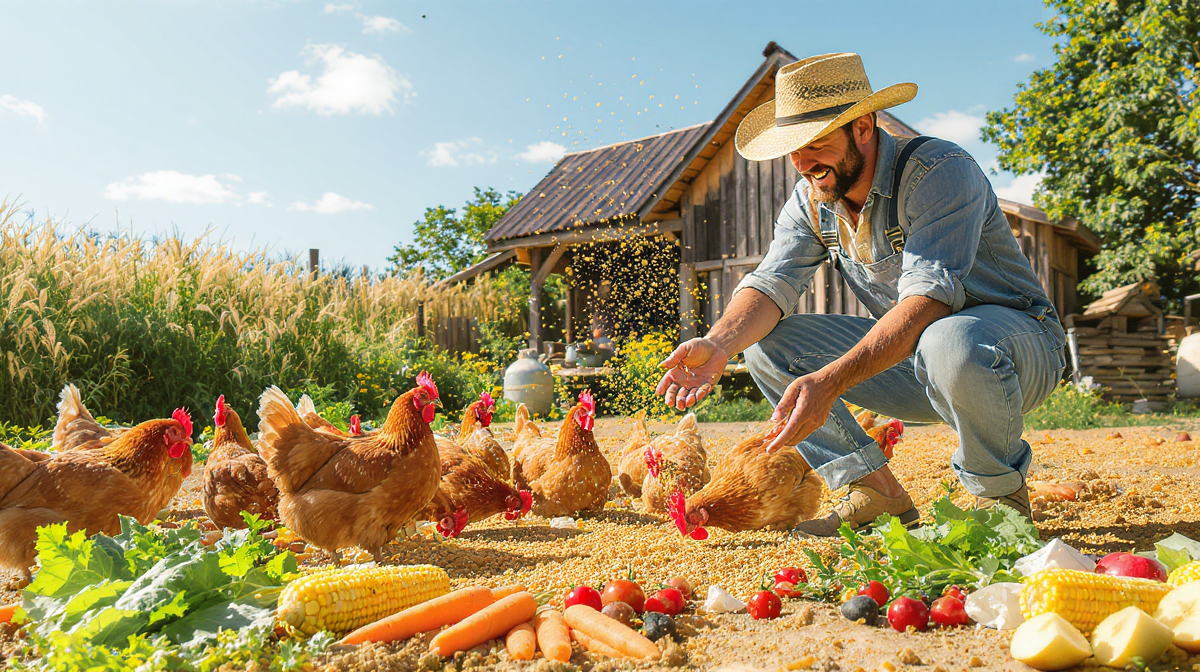
Why settle for processed butter loaded with additives when homemade butter offers pure, wholesome goodness? With just heavy cream, salt, and a bit of effort, anyone can create butter that boasts a richer taste and an incomparable freshness. As people embrace homesteading and seek sustainable, cost-effective kitchen solutions, making your own butter is a rewarding undertaking. Imagine spreading freshly churned butter on warm bread, savoring its sweet, creamy flavor while knowing exactly what went into it. Not only is homemade butter indulgent, but it also adds a special touch to meals—making every bite a celebration of authentic food craftsmanship.
Furthermore, this process yields buttermilk as a valuable byproduct, perfect for baking rich biscuits or tangy pancakes. The journey from cream to butter is a lively kitchen experiment that delights both children and adults, connecting generations around the simple joy of food creation. If you’re ready to explore the art of dairy transformation, the following sections will guide you through each step, provide insightful tips, and share creative ideas to enhance your butter-making adventure.
Here is what you’ll learn about making butter from scratch:
- 😊 The essential ingredients and tools needed for an easy homemade butter recipe
- 😊 Step-by-step guidance on preparing and churning cream into butter
- 😊 Techniques for washing and seasoning butter to maximize freshness and flavor
- 😊 Ideas for storing and extending the shelf life of your homemade butter
- 😊 Nutritional insights and creative ways to enjoy your fresh butter
Understanding the Basics: Ingredients and Kitchen Essentials for Homemade Butter
Making butter from scratch distills down to two main ingredients: heavy cream and salt. These seemingly simple components are the foundation of a luscious butter that fills your kitchen with irresistible aromas and delights the palate with unmatched taste. The quality of heavy cream is paramount for success and flavor: it should be rich with at least 30% butterfat to ensure proper separation during churning. Many home cooks trust trusted brands like Organic Valley or locally sourced cream for the best results.
Heavy cream is often found labeled as “heavy whipping cream” in dairy sections of grocery stores. Choosing organic or pasture-raised cream can yield an even more vibrant flavor and creamier texture. While some recipes add a few drops of yellow food coloring to enhance the visual appeal, this step is entirely optional but popular among those aiming to replicate that classic golden butter hue.
Salt is equally essential—not just for seasoning but also for improving shelf life and enhancing the dairy’s natural sweetness. Adjusting the amount of salt lets you tailor your butter to your taste preferences, or you can omit it altogether for unsalted variations. Beyond these, adventurous cooks sometimes add herbs, spices, or even garlic to create compound butters, adding an extra dimension to your meals.
An electric mixer such as a stand mixer or hand mixer is the preferred tool, capable of reaching the right speeds to churn butter efficiently. While traditional butter-making required a manual churn, modern kitchen appliances make the entire process much faster, accessible, and less tiring. For those without mixers, processing butter in a food processor is also an option, though it requires careful monitoring to prevent over-processing.
This simple ingredient list and kitchen setup highlight how easy it is today to embrace the tradition of homemade butter without specialized equipment. Having basic tools and fresh ingredients sparks a unique kitchen experience and encourages sustainable food practices that deepen one’s connection to daily meals.
Step-by-step guide: Churning your own butter from cream in your kitchen
Transforming heavy cream into butter is a fascinating process that unfolds gradually, revealing distinct stages along the way. The first step involves allowing your cream to “ripen” at room temperature for 4 to 6 hours. This resting time gently thickens the cream and develops a mild tang, enriching the final butter’s flavor. After this period, chilling the cream again solidifies the texture for easier churning.
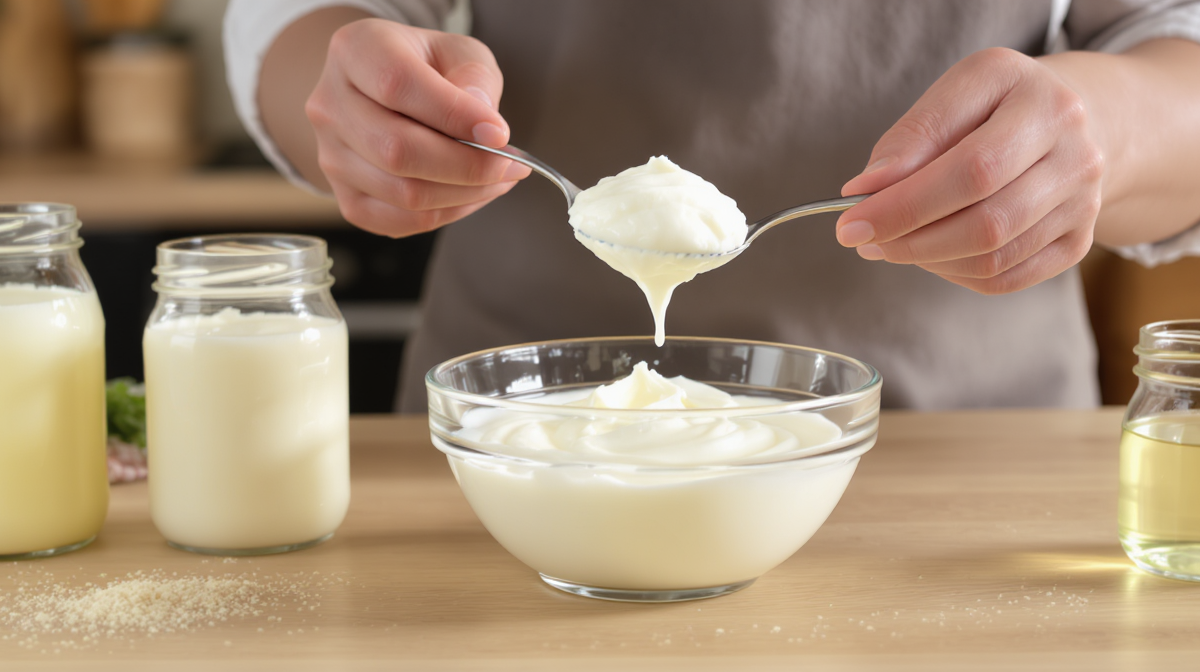
Pour the ripened cream into the bowl of your electric mixer. If desired, add a few drops of yellow food coloring for a traditional butter appearance. Begin beating on high speed; initially, the cream will whip into soft peaks similar to whipped cream — this is when air is being incorporated, increasing volume and lightness.
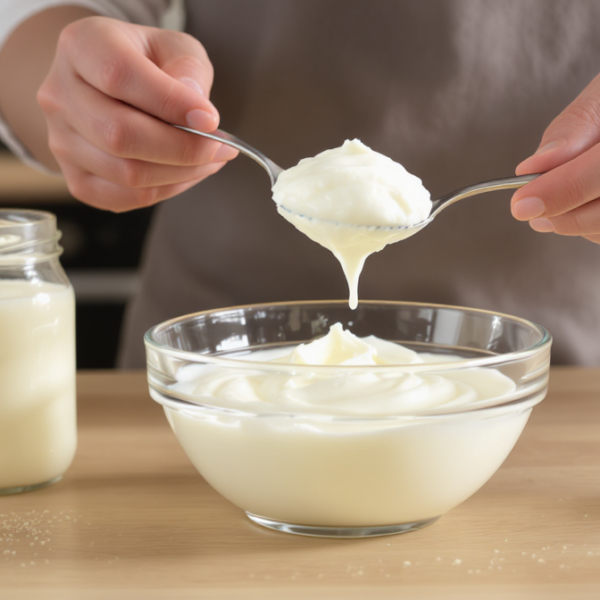
Continue mixing until the whipped cream starts to clump and the liquid buttermilk begins to separate. This turning point signals butter formation. You’ll observe a solid mass gathering around the beaters, while a clear, slightly sour liquid collects at the bowl’s bottom.
Lower the mixer speed and gently scrape down the bowl’s sides to keep all cream in motion. The process typically takes about 10 minutes but can vary based on your equipment and cream temperature.
Once the butter has fully clumped, strain off the buttermilk. Don’t discard this byproduct; it’s a treasure for baking indulgent treats like Indian fry bread or fluffy pancakes. This rich, tangy liquid adds natural leavening and moisture that commercial buttermilk can’t match.
The simple joy of watching raw cream transform before your eyes, turning from a flowing liquid to a spreadable solid, is part of the kitchen magic that makes homemade butter so special. It’s a practical and tactile reminder of the connection between food and nature, inviting families to engage with cooking in creative and educational ways.
Mastering butter washing and seasoning for optimal taste and preservation
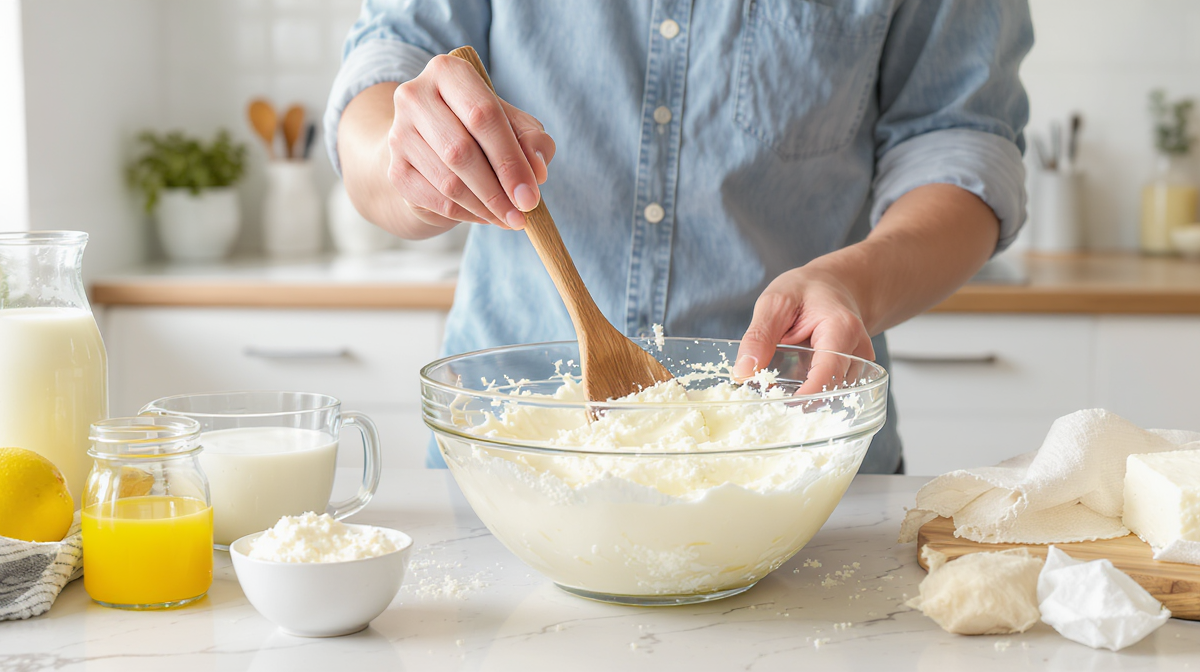
After the butter separates, proper washing is crucial to remove residual buttermilk that can cause spoilage. This “washing” step ensures your homemade butter stays fresh longer and tastes clean and creamy. There are two main methods: washing by hand or using the mixer again.
When washing by hand, gather the butter into a solid mass and gently knead it under cold, running water. Continue until the water runs clear, signaling all buttermilk residues are gone. This process might feel like a mini workout but guarantees a pure butter flavor and extends your homemade butter’s shelf life significantly.
Alternatively, place the butter back in the mixer bowl, add cold water equal in volume to the buttermilk removed, and gently mix on low speed. Pour off the cloudy water and repeat this process until the water drains clear. This efficient method ensures thorough rinsing without too much manual effort.
Once clean, add a scant tablespoon of salt to the butter while mixing it slowly at the lowest speed. Salt is a natural preservative and flavor enhancer. Feel free to adjust salt amounts or skip it entirely for unsalted butter enthusiasts. Using a spatula, press and fold the butter against the bowl to press out excess moisture. Removing this extra water helps maintain a firmer texture and reduces the risk of spoilage.
Finally, mold your butter using a butter press or pack it into a container with a tight-fitting lid for storage. Glass or ceramic containers are recommended to prevent absorption of external flavors, unlike plastic that may hold residues.
Skilled home cooks delight in experimenting with flavored butters at this stage—herbs like rosemary, thyme, or chives, or spices such as smoked paprika or garlic can be blended in to create unique spreads perfect for special occasions or gift giving. This turning point in butter-making unlocks a world of culinary imagination and personalization.
Storing homemade butter and creative ways to enjoy its fresh, rich flavor
Proper storage preserves the freshness and creamy quality of homemade butter, allowing it to be enjoyed over weeks rather than days. Butter should be kept in airtight containers within the refrigerator to prevent it from absorbing other odors and flavors. Glass jars or ceramic dishes with lids work best to maintain purity and avoid plastic contamination.
Freezing homemade butter is also an excellent option to extend its shelf life. Wrapped tightly in parchment or wax paper and stored in freezer-safe containers, butter can be frozen for up to 3 months without compromising texture or flavor. When ready, simply allow it to thaw slowly in the refrigerator.
Fresh butter elevates simple dishes like bread, where its rich creaminess melds beautifully with warm crusts. For those curious to combine classic bread baking with homemade butter, nurturing projects such as making homemade French bread or buttery burger buns offer a fulfilling kitchen experience. Slightly softened butter can also be blended with herbs or honey for delightful compound butters to enrich vegetables, steaks, or even popcorn.
Leftover buttermilk deserves culinary celebration in its own right, enriching recipes from creamy no-bake cheesecake filling to savory batters and soups. Embracing every element of the butter-making process perfectly embodies the spirit of frugal living and zero waste—a vital skill for 2026 kitchens striving toward sustainability and health.
Butter nutritional benefits and what makes homemade butter a wholesome choice
Homemade butter is not only a treat for the senses but also a natural source of essential nutrients when consumed in moderation. It provides a rich supply of fat-soluble vitamins such as vitamin A, which supports vision and immune health. Calcium and phosphorus present in butter contribute to dental and bone strength, while small amounts of vitamin D aid overall vitality.
The absence of additives, preservatives, or artificial colors often found in commercial dairy products means homemade butter can feel like a purer choice for families focused on quality nutrition. When made from organic or pasture-raised cream, the butter can contain higher levels of beneficial omega-3 fatty acids and conjugated linoleic acid (CLA), compounds linked to cardiovascular and metabolic benefits.
Below is a simple nutritional breakdown per tablespoon of homemade butter:
| 🍽️ Nutrient | 🧈 Amount per tbsp | 📊 % Daily Value* |
|---|---|---|
| Calories | 102 kcal | — |
| Total Fat | 11 g | 17% |
| Saturated Fat | 7 g | 44% |
| Cholesterol | 41 mg | 14% |
| Sodium (with salt) | 229 mg | 10% |
| Carbohydrates | 1 g | 0% |
| Protein | 1 g | 2% |
| Vitamin A | 435 IU | 9% |
*Percent Daily Values are based on a 2,000 calorie diet.
Though butter is calorie-dense, its wholesome fats support energy levels and aid in nutrient absorption. Homemade butter’s superior flavor and freshness often mean less is needed to enhance dishes, encouraging mindful consumption. This wholesome homemade dairy product not only sustains but also enriches everyday cooking.
How long does one quart of cream take to turn into butter?
Typically, it takes about 10 to 15 minutes of churning with an electric mixer for one quart of ripened heavy cream to separate into butter and buttermilk.
Is it necessary to let the cream ripen at room temperature before churning?
Allowing cream to rest at room temperature for several hours enhances the flavor and richness of the butter, although it’s possible to churn cold cream directly.
Can homemade butter be made without a mixer or churn?
Yes, butter can be made by vigorously shaking cream in a jar, but it’s more time-consuming. Using a stand or hand mixer simplifies the process and results in more consistent butter.
What can I do with the buttermilk left over after making butter?
The leftover buttermilk is perfect for baking recipes such as pancakes, biscuits, or easy cheeseburger soup, bringing tanginess and moisture to dishes.
How should I store homemade butter for the best shelf life?
Store butter in airtight glass or ceramic containers in the refrigerator. It can also be frozen for up to three months if wrapped tightly to preserve freshness.